Part of: Lesson Plans (46 resources )
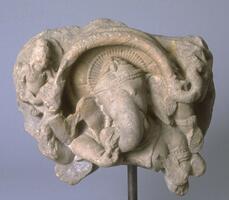


 of bulging eyes with defined upper lids, long, straight, triangular nose, symmetrical scarification patterns consisting of three horizontal lines on each cheek, and a short beard from ear to ear just underneath the lower lip. Two large “ears” protrude on either side of head and act as “scaffolding” for numerous attachments of symbolic content: birds and lions predominate, but also visible are amulets, wooden claws and beads, crosses, and an insignia shield of some kind. The ears terminate in two oblong mirrors with lions leaping off of each. Layers of pigment are visible, giving the impression that it has been repainted over time.")


Lesson Plan: Zen Pinch Pot
UMMA Teacher Workshop, March 19, 2003

Objectives
Students will learn how to make their own clay pinch pot while being introduced to the aesthetics and practices of Japanese Tea.
National Core Art Standards
- Refine and complete artistic work
- Relate artistic ideas and works with societal, cultural, and historical context to deepen understanding
Grades
K-3
Time Required
Two or three class periods
Materials
- Clay, self drying
- Large bowl (optional)
- Moistened, stiff Brush
- Smooth, flat scraping tool
- Rope, pieces of baskets, bark, or other rough objects to create texture on the clay
Pinch Pot Lesson
- Before this lesson, read a bit about Japanese Tea Ceremony. This essay is a good starting point: http://www.metmuseum.org/toah/hd/jtea/hd_jtea.htm From this essay, prepare a brief introduction to Tea Ceremony for your students.
- To begin, pinch (or push) your thumbs into the center of a ball of clay. Squeeze your thumb on the inside with your fingers on the outside of the pot. Continue squeezing and rotating the pot until the walls of the vessel are about 1/4 in. thick. Fix any cracks that form by firmly pinching together the void and smoothing it over. This part of the pot is what forms the base.
- You may want to place the base in a hollow in the ground, or in a bowl shaped vessel which can be rotated easily by the potter as the pot is built up.
- Now it is time to make the sides of your pinch pot. The sides are made with coils, which are rolled between the palms of the hands or rolled against a flat surface in a back and forth and center to ends direction. Coils range from 1/2 to 1 inch in thickness.
- To be joined properly, the coils should be roughened using a moistened, stiff brush. This helps seal out any air when the coils are squeezed together, and helps keep the coil moist while it is being added to the pot.
- Add a coil, one foot or longer, around the inside rim of the pot being held in its support.
- The coils must be firmly joined to the pot or cracks will appear when the pot dries. Attach the coil to the pot using your thumb to press downward against the coil on the inside of the pot. At the same time pull upward with your fingers on the outside of the pot. This will actually weld the coils together. If the coils are not well joined, cracks will appear as pottery dries.
- Join coils in a spiral direction until a rough form of the pot is made, or until the addition of more moist coils will cause the pot to slump under weight. If the pot dents when it is tapped, let it dry until it feels like leather, and does not dent easily.
- When the pot is leather-hard, the pot is paddled with a cord-wrapped stick. Paddling helps compress and strengthen the clay and decorates the outside of the pot with cord marks. A smooth, flat scraping tool may be used on the pot to compress cracks
- Decorating your Pot: Once your pot has dried, you can paint it any color of your choosing. Typically, pots used in the Japanese Tea ceremony have one side that is more ornamented – or more aesthetically pleasing – than the other side. When drinking tea, the host turns the tea bowl so the guest sees the most beautiful side while drinking.
Part of 1 Learning Collection
Lesson Plan: Translating a Familiar Landscape
“Tradition Transformed: Chang Ku-nien Master Painte...
“Tradition Transformed: Chang Ku-nien Master Painte...
Lesson Plan: Collaborative Scroll of Images and Poetry
“Creative Literacies: Expanding our View,” UMMA Wor...
“Creative Literacies: Expanding our View,” UMMA Wor...
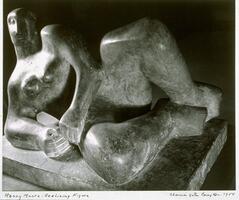
Lesson Plan: Compare and Contrast Drawing and Sculpture
UMMA Exhibition, “The Graphic Dimension: Prints and...
UMMA Exhibition, “The Graphic Dimension: Prints and...
Lesson Plan: Content and Style – Corresponding or Contradicting?
“Creative Literacies: Expanding our View,” UMMA Wor...
“Creative Literacies: Expanding our View,” UMMA Wor...
Lesson Plan: Setting the Scene – Descriptive Writing with Photography
“Teaching with Photography,” UMMA Workshop for Educ...
“Teaching with Photography,” UMMA Workshop for Educ...
Lesson Plan: Not a Failure . . . Just a Draft
“Creative Literacies: Expanding our View,” UMMA Wor...
“Creative Literacies: Expanding our View,” UMMA Wor...
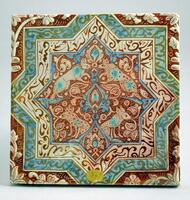
Lesson Plan: Calligraphy and Radial Design in Islamic Art
Lesson adapted from Educator Resources, Victoria & ...
Lesson adapted from Educator Resources, Victoria & ...
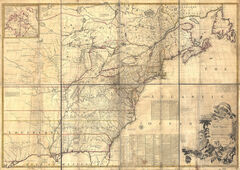
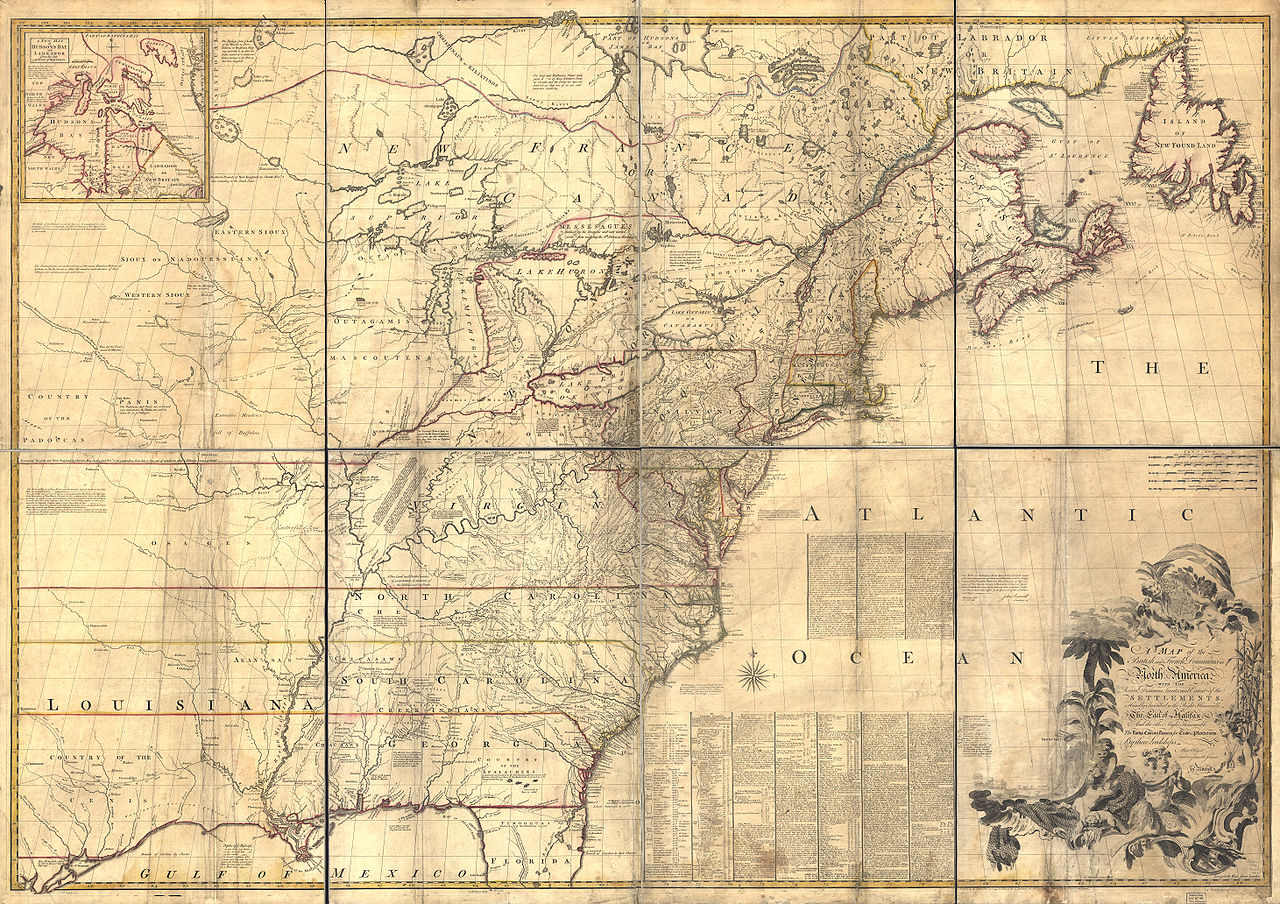
Lesson Plan: Memory Maps, Using the Mitchell Map (1755)
“Benjamin West: General Wolfe and the Art of Empire...
“Benjamin West: General Wolfe and the Art of Empire...
Lesson Plan: Multipoint Perspective: Using Art to Teach Writing
“Creative Literacies: Expanding our View,” UMMA Wor...
“Creative Literacies: Expanding our View,” UMMA Wor...
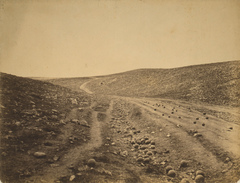
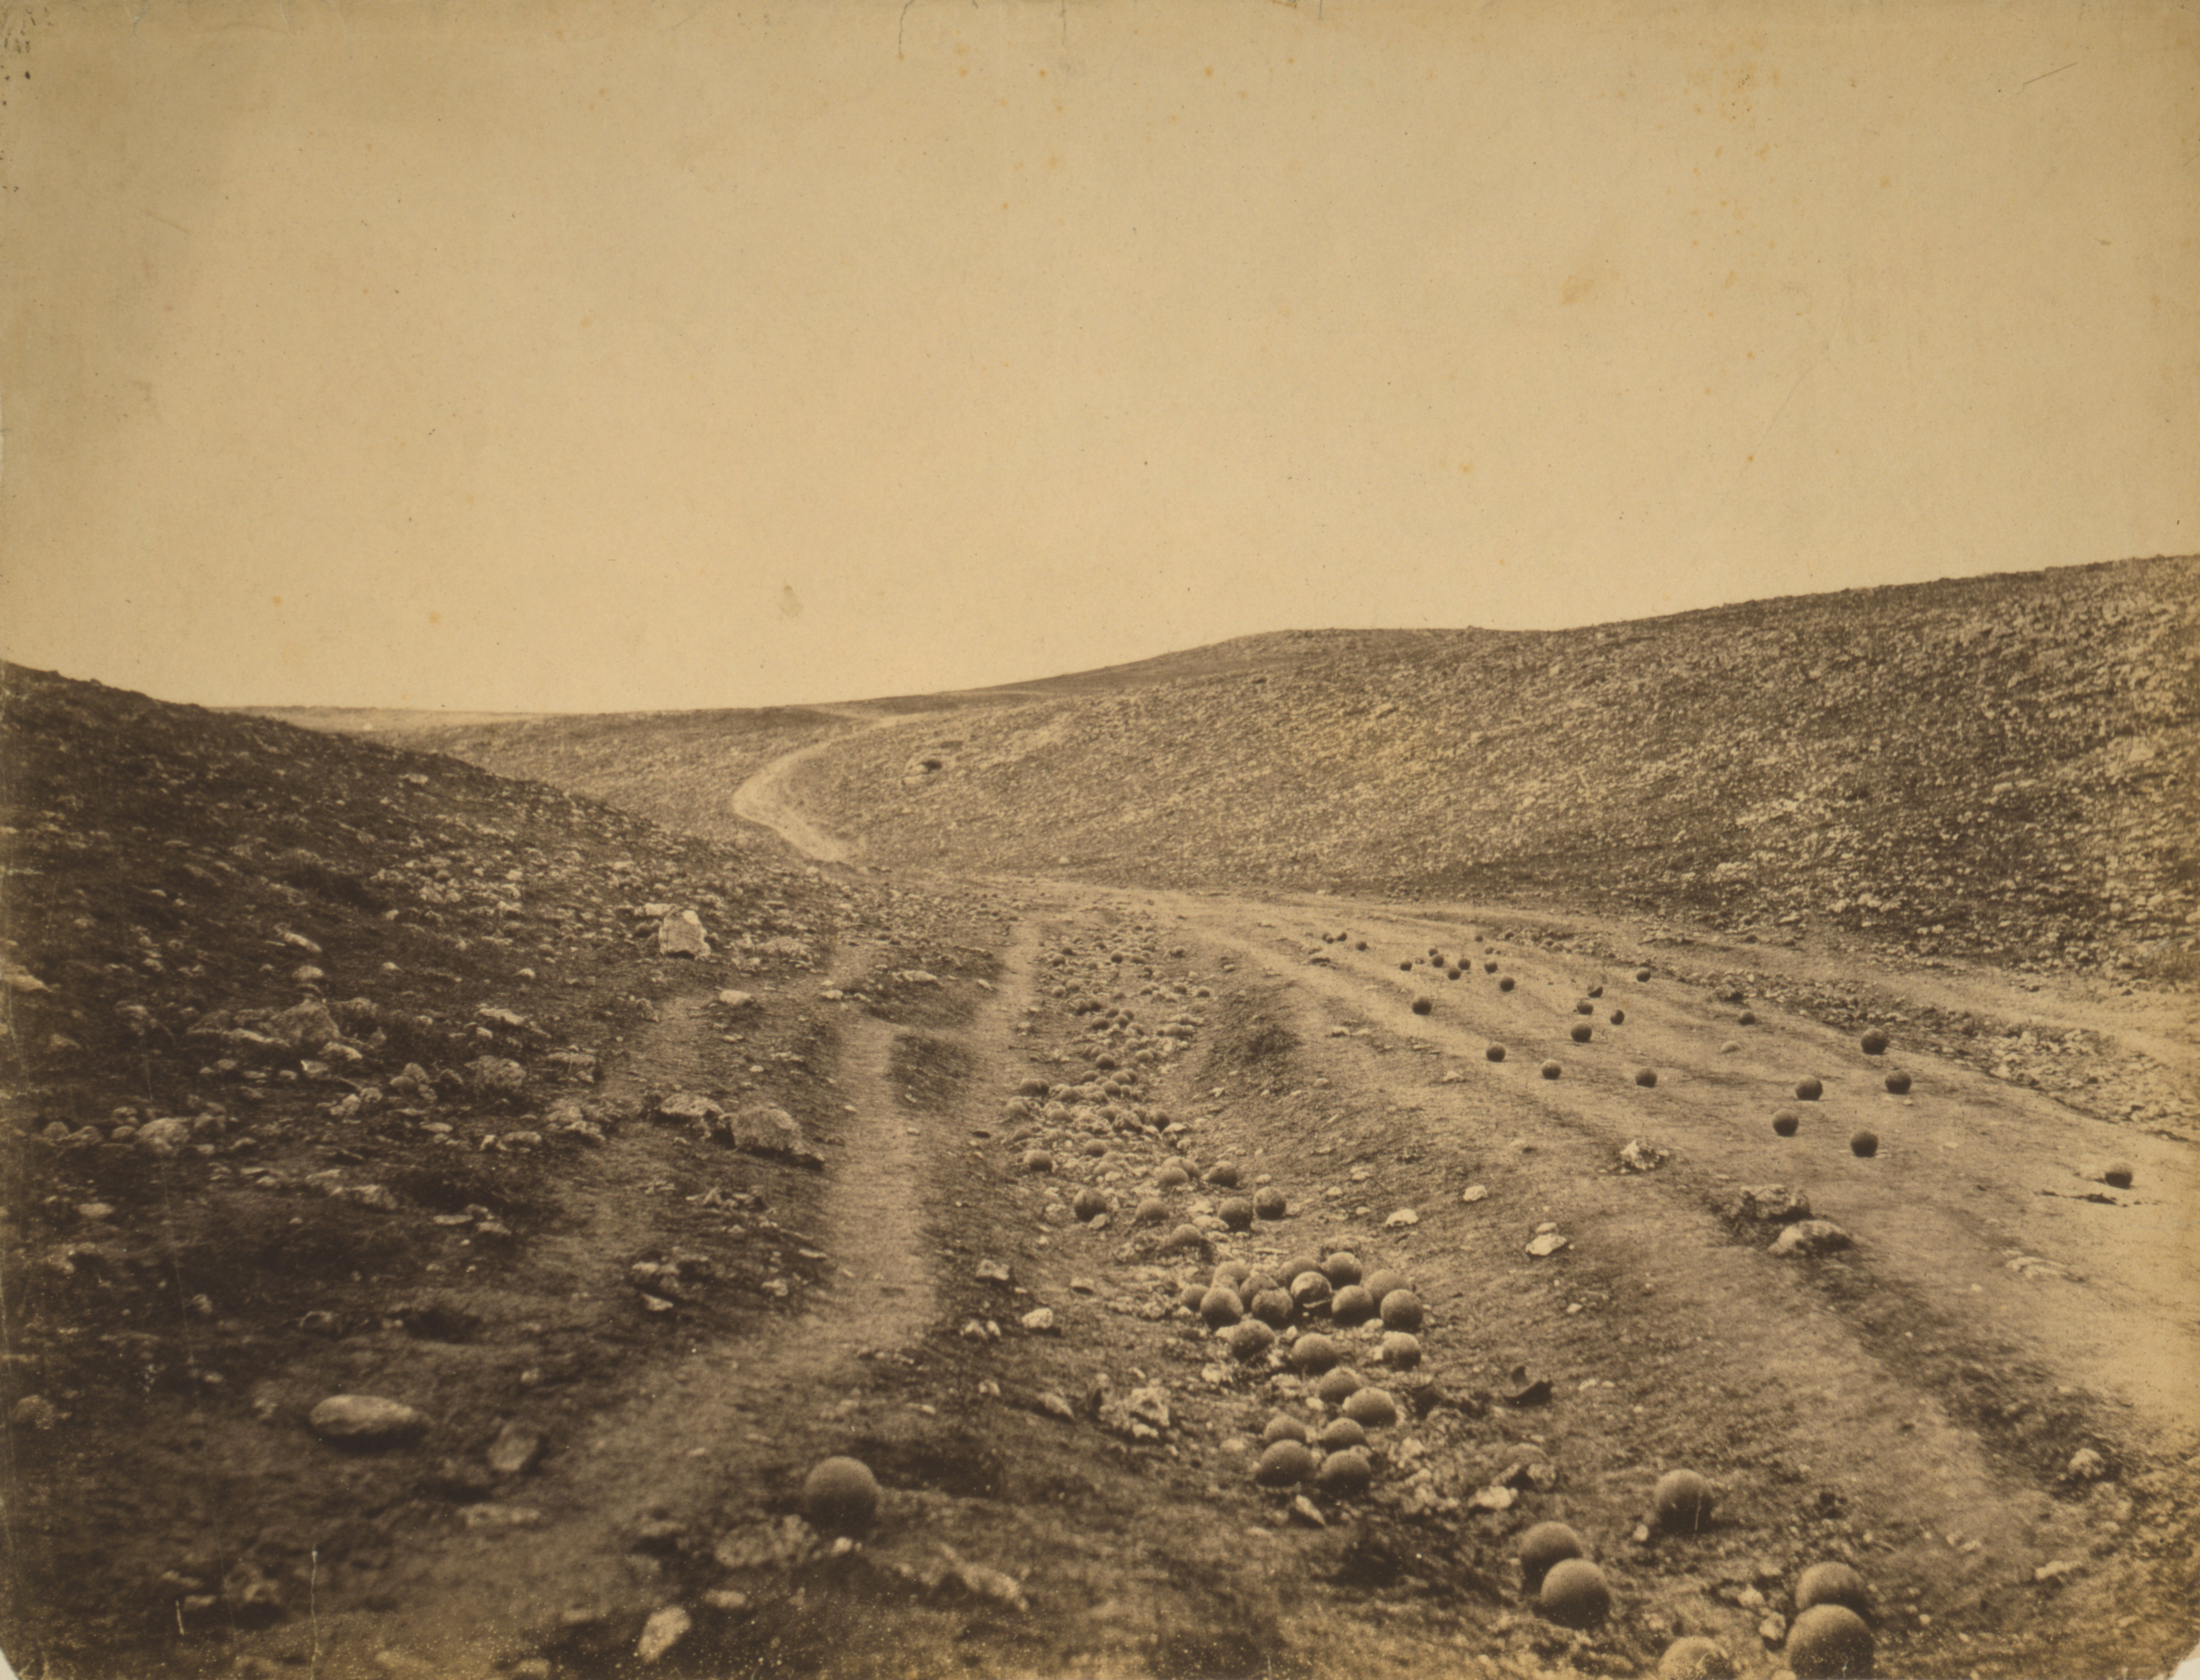
Lesson Plan: The New Sublime and Photographic Landscape
“Teaching with Photography” UMMA Teacher Workshop,...
“Teaching with Photography” UMMA Teacher Workshop,...
Lesson Plan: Panorama Handscroll Using Multiple Literacies
Lesson inspired by Elaine Wilson’s “Charting the Wo...
Lesson inspired by Elaine Wilson’s “Charting the Wo...
Lesson Plan: Playing with Scale in Landscape or Still Life
“Tradition Transformed: Chang Ku-nien Master Painte...
“Tradition Transformed: Chang Ku-nien Master Painte...
Lesson Plan: Exploring the Emotional Impact of Portraiture Through Free Writing
UMMA Teacher Workshop, “Xu Weixin: Monumental Portr...
UMMA Teacher Workshop, “Xu Weixin: Monumental Portr...
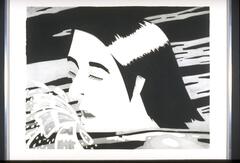
Lesson Plan: Positive and Negative Space in Photography
“Teaching with Photography,” UMMA Workshop for Educ...
“Teaching with Photography,” UMMA Workshop for Educ...
Lesson Plan: Setting Up a Collaborative Short Story
“Teaching with Landscape Photography,” UMMA Teacher...
“Teaching with Landscape Photography,” UMMA Teacher...
Lesson Plans: Ideas for Writing with Portraits
UMMA Teacher Workshop, “Xu Weixin: Monumental Portr...
UMMA Teacher Workshop, “Xu Weixin: Monumental Portr...
Lesson Plan: Zoom In: The Significance of Detail
“Creative Literacies: Expanding our View,” UMMA Wor...
“Creative Literacies: Expanding our View,” UMMA Wor...
Rate this Resource
AVG: 0 | Ratings: 0
& Author Notes
Creative Commons by-nc-saLast Updated
March 6, 2017 1:19 a.m.Report
Reporting Policy
